
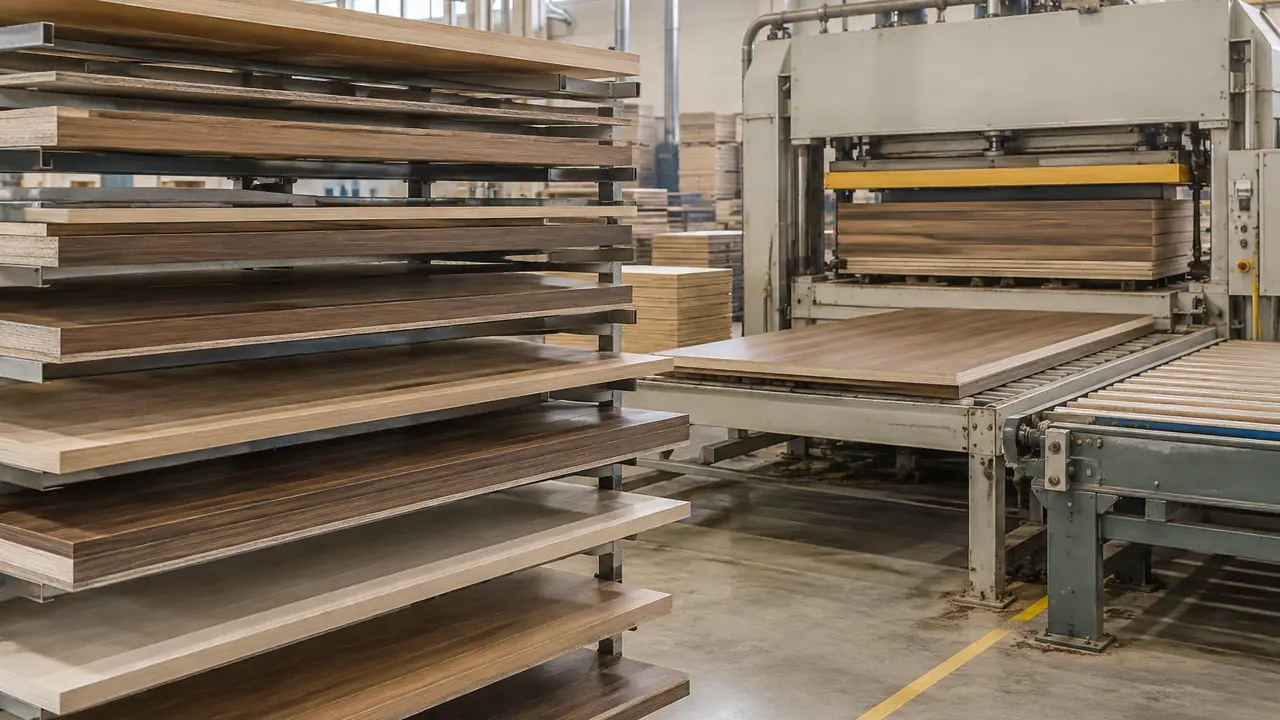
From raw board to carton
A decorative wall panel is the sum of small decisions made in sequence, and each stage can undo the one before it. The stages look simple from the outside; the craft is in the checkpoints between them, because a bad press hides until installation and a warm color batch hides until two lots meet on the same wall. Sequence is the discipline: boards move one way through the line, and going back - re-pressing a sheet, re-machining a slat - costs far more than the checkpoint that would have caught the fault, which is why every stage ends with its own gate rather than leaving the verdict to one inspection at the end. This page walks the road once, names what is checked at each stage, and shows where a custom color or a project grade changes the sequence. The same road runs under every line on this site - fluted boards, slat panels and veneer sheets pressed onto cores differ in what happens at each stop, not in the stops themselves.
The eight steps
- Board selection. MDF or plywood cores are chosen by density, thickness and moisture class, matched to the program's emission grade - the certificate follows the board, so compliance starts at the substrate rack, not at the finished panel.
- Veneer slicing and matching. Flitches are sliced into leaves 0.3-0.6 mm thick, clipped, jointed and laid up - book-matched or slip-matched - into faces sized for the press, with the leaf sequence recorded so the grain runs true across a wall.
- Pressing. Face, glue and core meet in a hot press; pressure, temperature and press time are set per glue class, and first-off sheets are checked for bond before the line commits to the run.
- Profiling and machining. For fluted and slat lines the pressed board is cut into slats - typically 12-30 mm wide at a 15-40 mm pitch - then routed, sanded and profiled while the pitch is still exact.
- Felt lamination. PET acoustic felt, 9-12 mm typical, is bonded to the rear; on slat panels the felt is both the absorber and the fixing surface, so bond quality matters twice.
- Edge banding. Cut edges are banded or machined with matching veneer or trim, so a panel shortened on site still reads as finished.
- Color checking. Faces are judged against the retained swatch under a standard lamp, lot by lot, before anything is packed.
- Packing. Corner-protected cartons or crated stacks, labels and color cards per box, drop-tested against the approved packaging sheet.
Checkpoints per stage
| Stage | Typical checkpoint | Failure it prevents |
|---|---|---|
| Board selection | Density, thickness, moisture class, emission grade per certificate | Warp, grade mismatch, missing documents |
| Veneer matching | Leaf sequence, joint tightness, grain direction | Broken symmetry across a wall |
| Pressing | Bond strength on first-off sheets; blister check under raking light | Delamination in transit or on site |
| Machining | Slat width and pitch against the program sheet | Visible rhythm drift across panels |
| Felt lamination | Felt thickness and bond; edge lift check | Felt lifting behind slats |
| Edge banding | Adhesion and color match on banded edges | Chipped, mismatched cut lines |
| Color checking | Lot versus retained swatch under standard lamp | Two lots that quarrel on one wall |
| Packing | Carton build, drop test, label and card per box | Transit damage and claims |
Where a custom color changes the line
A catalog color rides an existing line: the veneer, stain or melamine stock is known, and the stages above run at their usual pace. A custom color inserts a proofing loop before pressing - stained or engineered veneer samples made, shipped and approved - and that loop is the main reason first runs take longer. Reference timing: proofing 15-25 days and a 45-60 day first production run, against 25-45 days for a catalog batch, confirmed in writing per program. The color decision also fixes the retained swatch, which then governs every later lot; the matching discipline behind it is described in the color matching note.
Who watches the line
Stage checkpoints are the plant's daily work; the desk's job is to make them visible. The inspection plan is written per program - what is measured at incoming, in-process and final - agreed before the first batch, and the record travels with the lot; quality control describes the plan and testing and inspection covers the lab methods behind the grades. Nothing in the sequence is hidden from the buyer: ask at the briefing stage and the stage gates your program will run, and the evidence each one leaves, are listed on the plan itself. Buyers who want the craft side in depth will find the same road told from the plant's point of view in the how-panels-are-made note.
What the buyer can request
Nothing here is closed to a buyer's eyes. First-off sheets from a pressing run, lamp-booth photographs against the swatch, felt bond checks and drop-tested cartons can all be written into the program's inspection plan, and most partner plants supply them as routine. The request that pays for itself most often is the simplest: retain the approved swatch and photograph every lot against it before packing. Start a program through the quote form and the plan is drafted alongside the spec sheet, before the first batch is scheduled.